Making It Stick
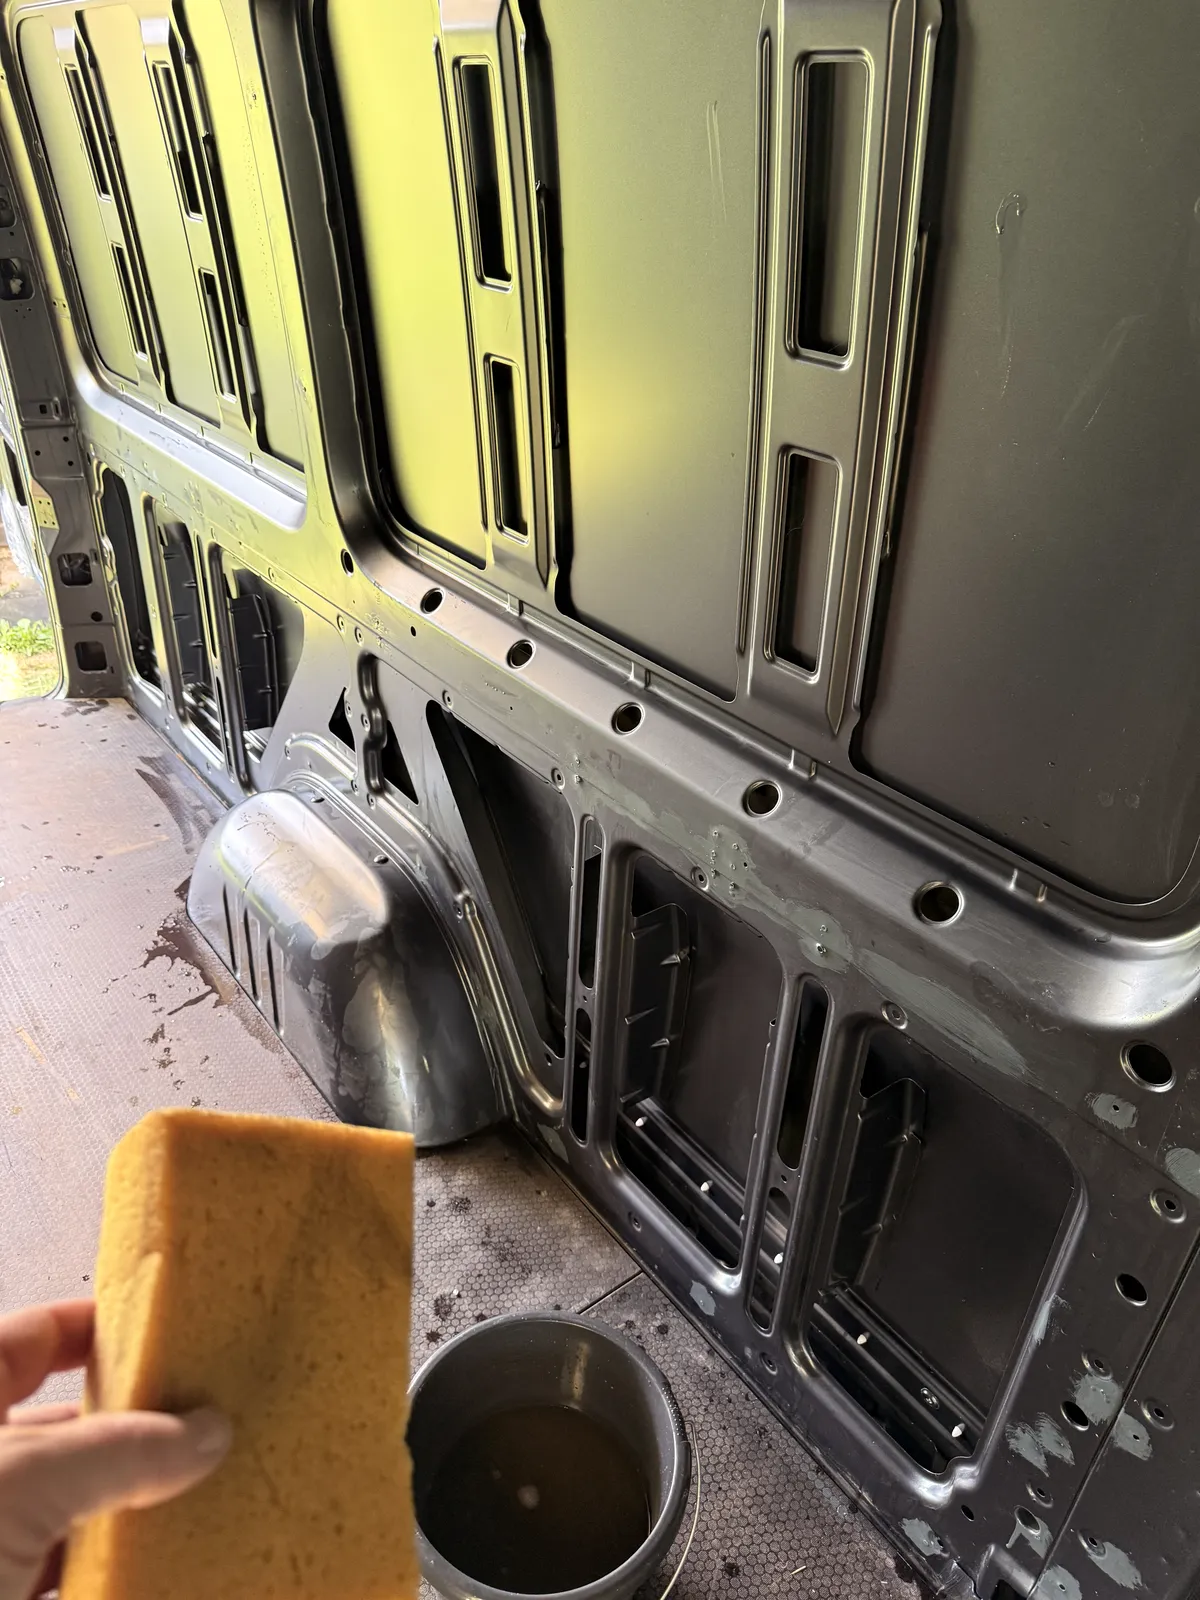
Before anything goes onto the walls, everything has to come off them. This was the boring weekend that makes the next one possible.
Nothing went wrong this weekend. After the spinning rivets, the glued door panel and the bent metal that came with it, that is not a sentence I get to write often.
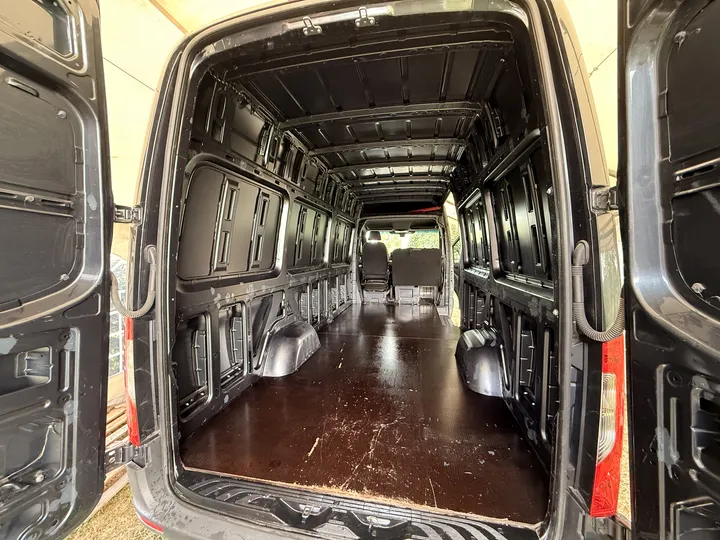
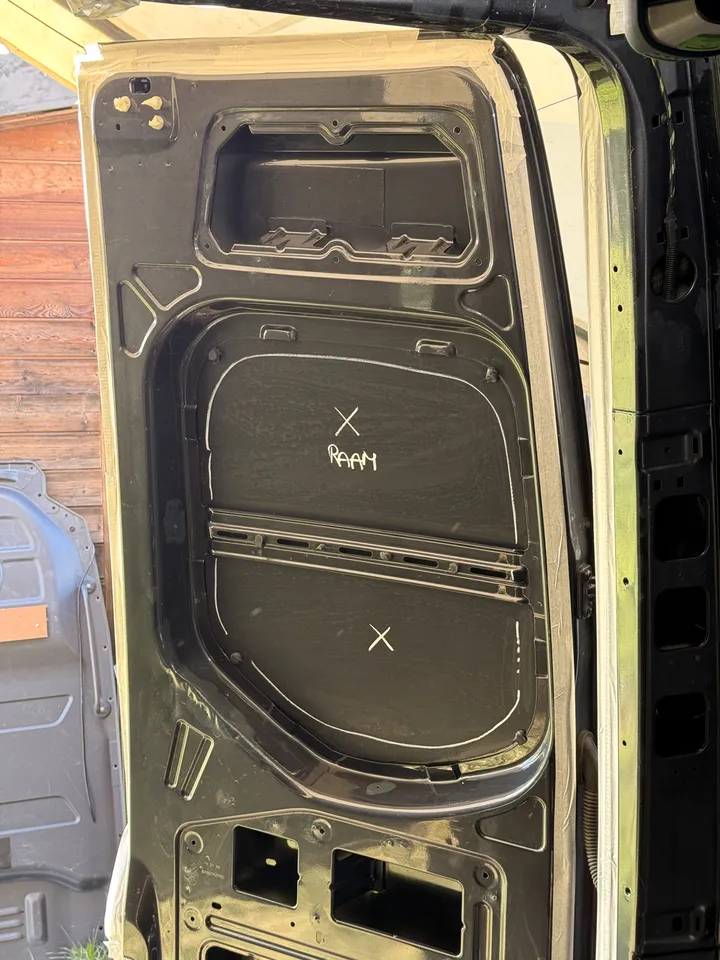
The last post left the van bare from the cab to the rear doors, with sealant stuck to every line where the trim used to sit. This weekend was the cleanup all of that has been pointing at. Not tidying. Cleaning, in the way a surface has to be clean before you spray anything onto it.
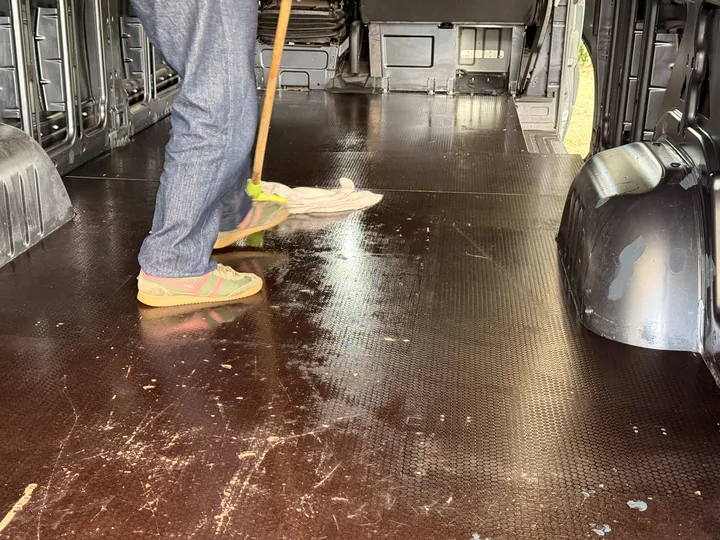
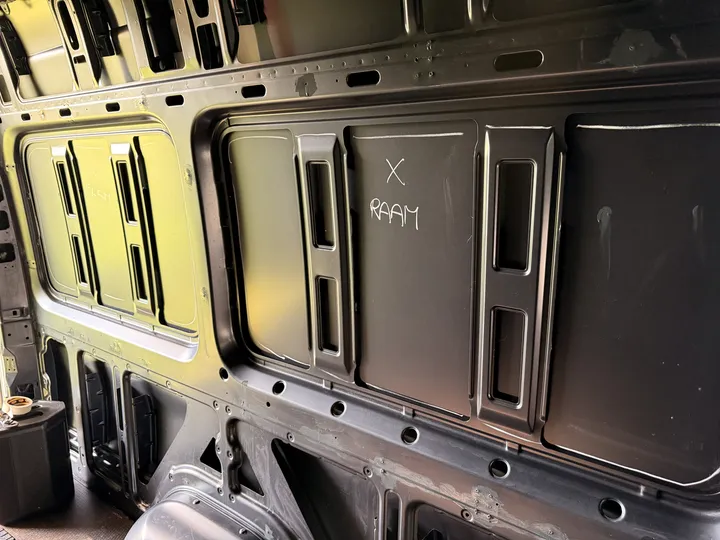
That is the whole reason for the job. The insulation goes on as sprayed cork, and spray only bonds to what is actually underneath it. Drilling dust, dirt, and everything the lining left behind when it came off: if that stays on the metal, the cork sticks to the mess instead of the van. So it was a bucket, a sponge and a mop, over the walls, the ribs, the corners and the floor, until the metal was properly bare.
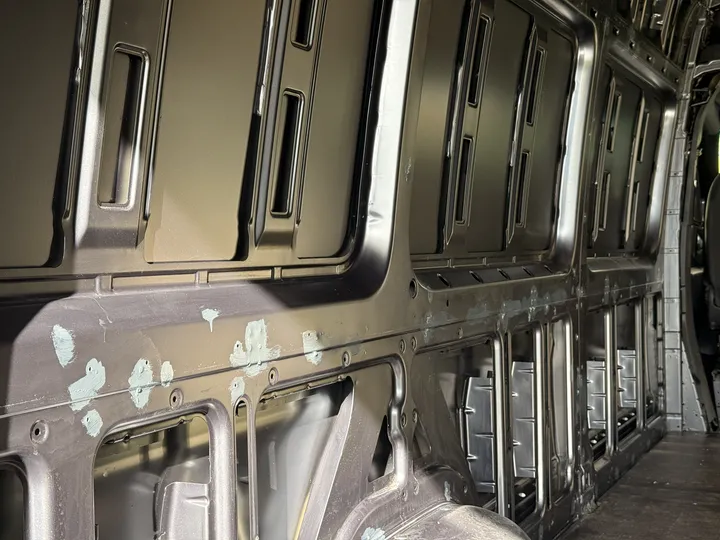
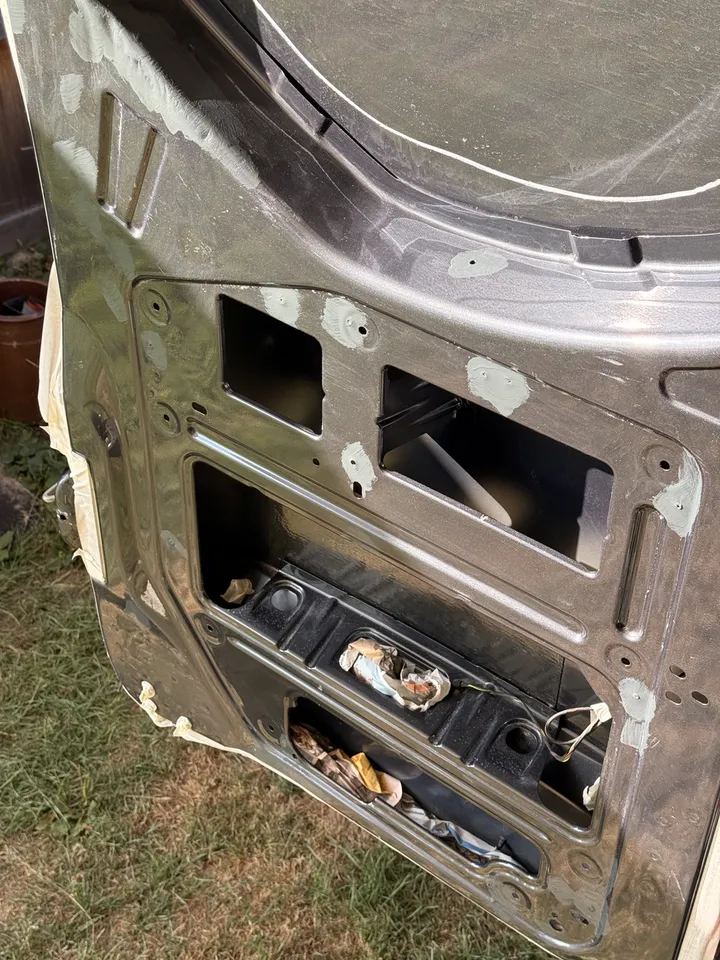
Then the scratches. Stripping a van leaves marks. Some are the ordinary scrapes you collect dragging panels and tracks out of a tight space. The rest came from the rivets, hundreds of them drilled out one at a time, and a drill bit that finds the head of a rivet also finds the paint around it. Every one of those is bare steel in a van that lives outside.
So every scratch got a coat of rust protection. It is not pretty. The colour is nowhere near the factory paint, and I did not spend a second trying to get it closer. This is protection, not finish. All of it ends up under the cork and nobody will ever see it again, including me. Chasing a match would have cost an afternoon and changed nothing.
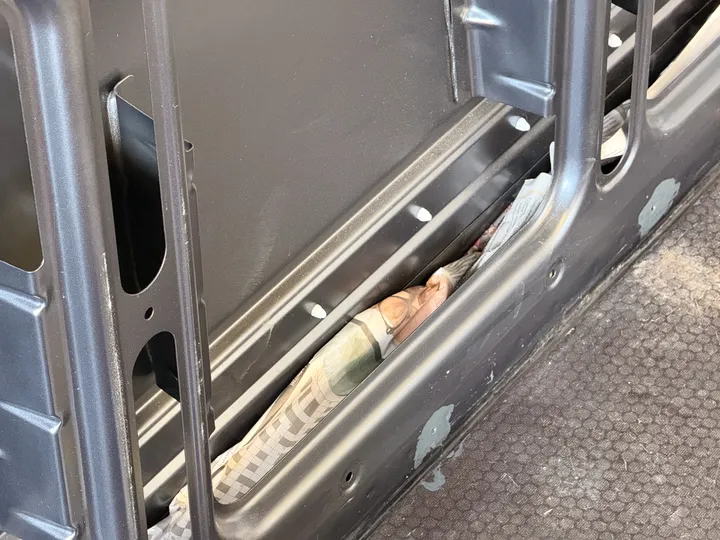
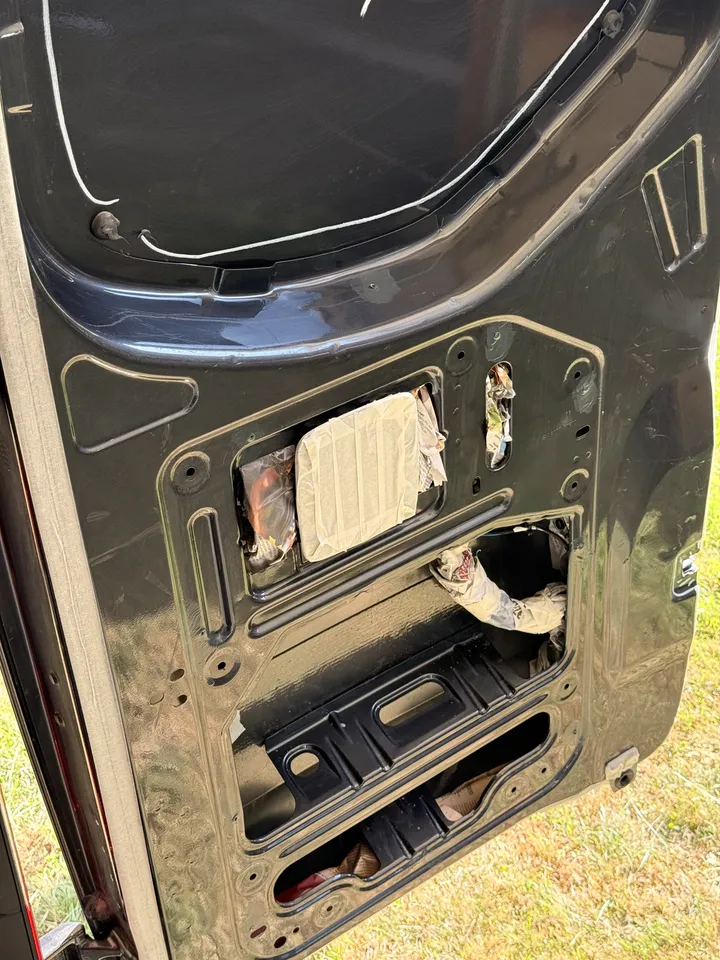
Then a job that looks like nothing in the photos, because it is mostly old newspaper. The walls of the van are hollow, and at the bottom of those cavities there are drain holes. Condensation happens in a van. With decent insulation it should not be much, but whatever does form has to be able to run out at the bottom. If cork gets into the cavity and settles down there, those holes clog and the water stays in. So the bottom of the hollow wall got packed with paper, and the openings inside the doors got the same treatment. It costs nothing and it keeps the drainage open.
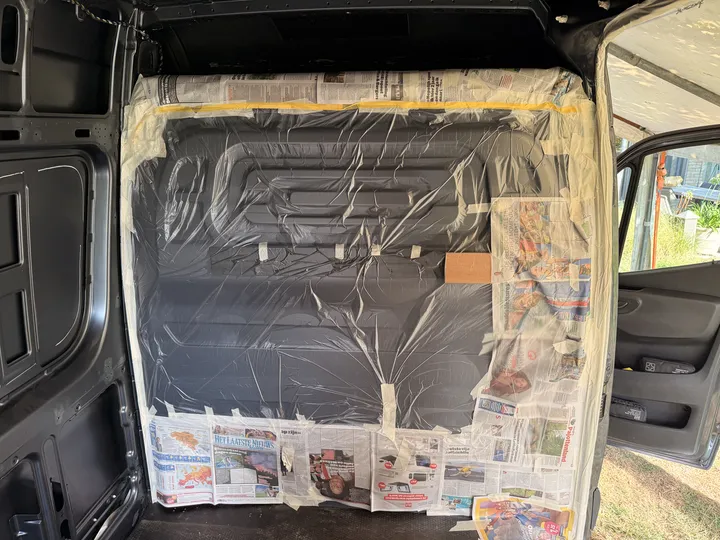
The rest of the weekend went into masking. Not everything in the van gets cork, so everything that does not has to be covered before the spraying starts. The front got a plastic sheet and a layer of newspaper, taped off, because the cab stays as it is. That is where I stopped, with the first sections done and the rest still to go.
The cork itself is already bought. I am spraying it myself, so there is no installer to wait for and no date in the diary. What I am waiting for is weather. It needs to be reasonably dry for the cork to dry properly, so it is a matter of finding a free day that lines up with the forecast.
Lessons learned: the boring steps decide whether the good step works. Cork does not stick to dust, so the washing is not a warm up for the job, it is part of it. Think about where water goes before you close anything up, because a blocked drain hole is only a problem once everything is already sprayed over it. And when something is going to be hidden, let it be ugly. Rust protection under insulation only has to do one thing.
Next up: finish the masking, then find a dry day and put cork on the walls.
Photos from this weekend